DIY Inspection
How to Spot Roof Damage From the Ground (Without a Ladder)
You don't need to climb your roof to find damage. Here's what to look for from the ground, your driveway, and inside the attic — using only your eyes and your phone.
Key Takeaways
- You can spot most roof problems from the ground in 15 minutes — no ladder required.
- The single most reliable ground-level damage indicator: dents on your gutters, downspouts, and AC fins. If those took hits, your shingles did too.
- A pair of binoculars or a phone camera with zoom turns a ground-level inspection into a far more useful one — you'll see shingle-level detail from your driveway.
- The attic is your secret weapon — daylight, water stains, and damp insulation tell you more than the roof's surface ever will.
- Climbing your roof yourself is dangerous and rarely necessary. Let a professional do the roof-level inspection.
You don’t need to climb on your roof to know if it has problems. Most damage shows itself from the ground — you just need to know where to look.
I’ve inspected hundreds of DFW roofs, and the homeowners who catch issues early all have the same habit: they walk their property after storms and they look up. Here’s the same checklist I’d give my own family.
What you need
- Your phone (camera + flashlight)
- 10–15 minutes
- A pair of binoculars (optional but useful)
- The ability to walk around your house
That’s it. No ladder. No special tools.
Step 1: Walk the perimeter
Start at one corner of your house and walk all the way around, looking up at your roof from each side. Pay attention to:
Missing or shifted shingles Look for spots where the staggered shingle pattern is interrupted — gaps, lifted corners, or bare patches of underlayment showing through. Even one missing shingle is worth investigating.
Color irregularities Healthy shingles have consistent color across each slope. Patches that look noticeably darker (lost granules exposing asphalt) or lighter (sun-faded vs. shaded sections) tell you wear isn’t uniform.
Sagging or wavy ridge lines The peak of the roof should be perfectly straight when viewed from across the street. Any visible dip, wave, or sag is a structural concern — that’s a call-a-pro-today situation.
Visible debris Branches, leaves piling up in valleys, or storm debris caught against vents indicates poor drainage or recent storm damage.
Step 2: Check your gutters and downspouts
This is the most underrated step in any homeowner inspection. Your gutters tell you more about your roof’s condition than your roof’s surface does.
Look for dents on metal surfaces Run your hand along the tops of your gutters (the curved outer edge). Crisp circular dents = recent hail. Bigger dents = bigger hail. If the gutters took clear impact damage, your shingles did too — even if they look fine from the ground.
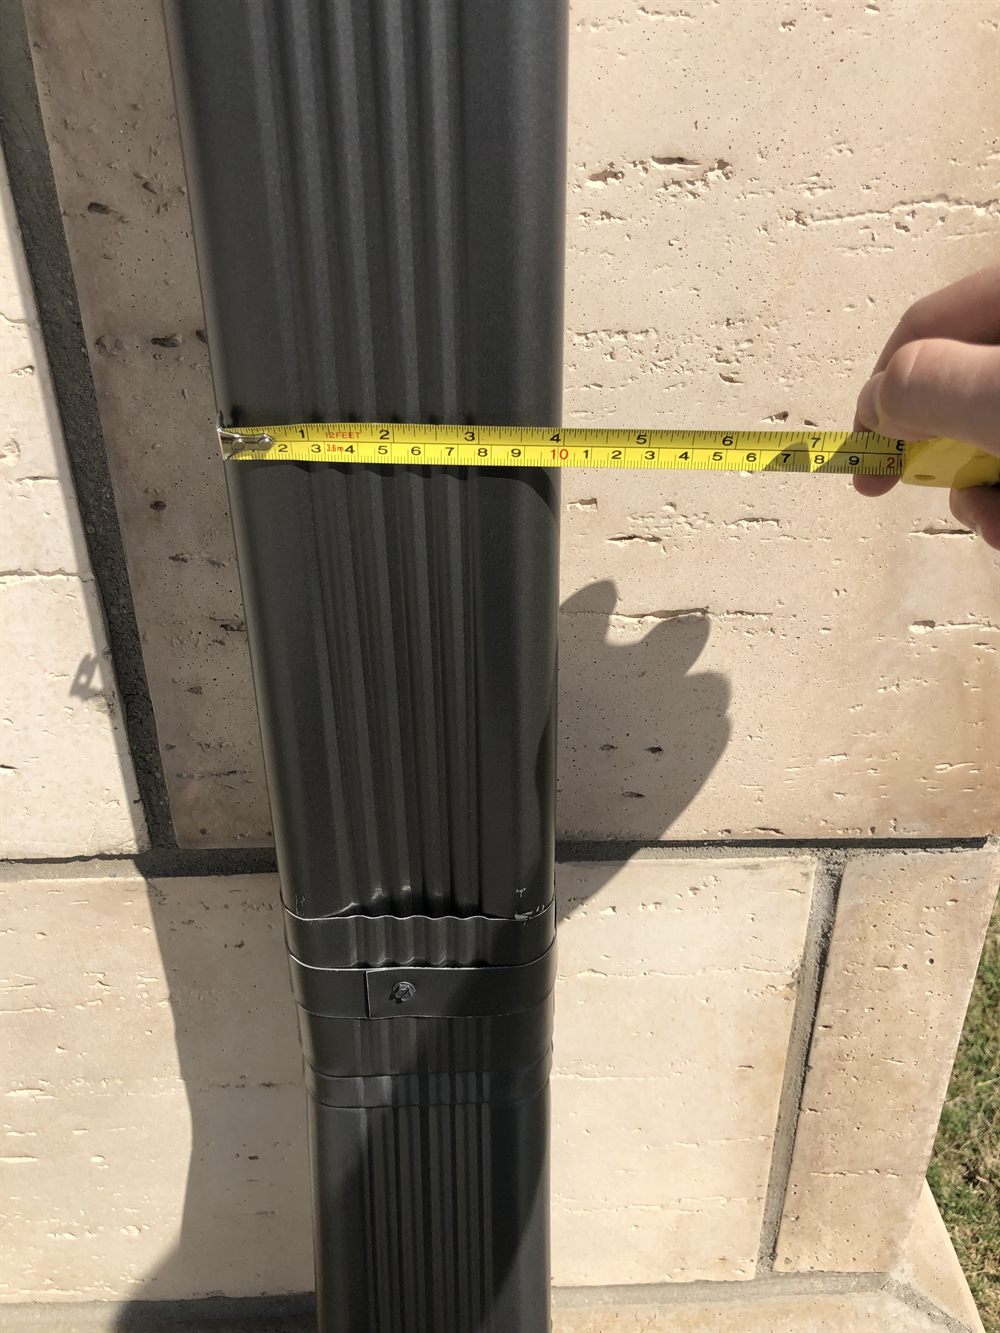
Check the downspouts Look at the sides of downspouts for impact marks. Then look at the bottom of each downspout — what’s coming out tells you what’s on your roof:
- Sandy granules in piles = your shingles are shedding granules
- Large pieces of shingle = wind has torn shingle material loose somewhere
- Clear water only = healthy roof or clogged gutters (different problem)
Look at your AC condenser The metal fins on the side of your outdoor AC unit dent at the same time your roof gets hit. If those fins are crushed or flattened in spots, you’ve had recent hail damage.
Step 3: Use binoculars or phone zoom
Stand 30–50 feet from your house and use binoculars or zoom your phone camera in on the roof surface. From this distance, you can see:
- Curled or cupped shingles — corners turning up or middle rising
- Hail bruises — darker circular spots where granules have been knocked off
- Damaged flashing — bent or pulled-away metal around chimneys, skylights, and vents
- Algae streaks — dark vertical lines running down the slope (especially north sides)
Phone cameras with 10x+ zoom can show shingle-level detail from across the street. Take photos systematically — one of each slope, plus close-ups of any suspicious areas. You’ll have a record to show a roofer or insurance adjuster later.
Spotted something concerning from the ground?
We do a roof-level inspection for free across DFW — climb the roof, document everything with photos, and give you a written report. No obligation either way.
Schedule a Free Inspection →Step 4: Check the attic
Your attic is the most underrated diagnostic tool in your house. Open the access hatch and look up at the roof deck from inside.
During the day, with no flashlight, look for daylight. Small amounts around vents and ridge are normal (they’re designed openings). Scattered pinpricks of light across the deck — especially in valleys or near penetrations — mean physical damage to the shingles or underlayment above.
Look for water staining on the deck and rafters. Dark stains indicate past or active leaks. The location of the stain tells you roughly where the leak is — water travels along rafters, so the actual entry point is usually slightly above the stain.
Feel the insulation. Damp insulation = active leak somewhere. Even a small damp spot is a problem.
Smell the air. Mold or mildew smell = long-term moisture issue. This is more common than homeowners realize and signals a leak that’s been there for a while.
Look at the underside of the roof deck. Healthy decking is solid plywood or OSB. Sagging, rotted, or visibly damaged decking means the roof has been leaking longer than you realized.
Step 5: Check inside the house
Walk through every room and look at ceilings.
Water stains on ceilings Brown rings or discolored patches = water has been or is getting in. Newer stains are sharper; older ones spread.
Water stains where walls meet ceilings Common in upper-floor rooms. Often indicates gutter overflow or fascia damage.
Bubbling drywall or peeling paint Especially around bathroom or kitchen ceiling fans — could be vent flashing failure on the roof.
Around the chimney chase Look at the ceiling and walls around the chimney chase on the upper floor. Chimney flashing failures cause stains here first.
What you can ignore
A few things look concerning but usually aren’t:
- A few granules in your gutters — some loss is normal, especially with newer roofs
- One or two slightly raised shingle corners in the wind — they often re-seal in the next warm day
- Faded color on a south slope of an older roof — UV exposure, slow process
- Minor algae streaks — usually cosmetic; treatable with cleaning if it bothers you
Don’t panic about cosmetic issues. Worry about active leaks, sagging, missing shingles, and impact damage.
Want a professional second opinion?
Free roof-level inspection across DFW. We climb, document with photos, and give you a written report — even if no work is needed.
See our inspection process →Frequently asked questions
Should I really avoid climbing my roof?
Yes. Roofs are statistically one of the most dangerous places on a residential property. Slips, falls, and bad landings cause thousands of injuries annually. Wet roofs after storms are especially dangerous. Professional roofers use safety harnesses, ladders, and equipment that homeowners don’t have. There’s no information you can get from being on the roof that a pro can’t get for you (free).
How often should I do a ground-level inspection?
After every major storm. Plus once a year as a routine check. Catches issues at the cheap-to-fix stage instead of waiting until water is coming through the ceiling.
My roof looks fine from the ground but I’m still worried. Is that overkill?
No. A free professional inspection takes 30 minutes and gives you documented peace of mind. Better to know than to wonder. We’ve inspected plenty of roofs that “looked fine” but had damage that would have caused leaks within a year.
Can I use a drone instead of binoculars?
Yes, if you have one. Drones give you a perspective close to what a roofer sees. Just be aware that drone footage usually isn’t accepted by insurance adjusters as primary documentation — they want a person on the roof. Use the drone to confirm you should call someone, not as your only documentation.
What does “fresh” hail damage look like vs. old?
Fresh hail bruises are sharply defined dark circles where granules are clearly missing, often with the underlying asphalt visible. Old damage softens — the granules have weathered around the impact, the contrast is lower, and the spot may have algae or staining around it. Adjusters can tell the difference, which is why filing claims within 30 days of an event matters.
A final note
Ground-level inspection isn’t a replacement for professional inspection. It’s a way to know when to call one.
The pattern I see with the homeowners who avoid expensive surprises: they do a 15-minute walk-around after storms, they check the attic every few months, and they call for a professional inspection when they spot anything they’re not sure about.
If you’ve spotted anything during your walk-around that’s worth a closer look, schedule a free inspection. We climb the roof, document everything, and give you the same photo report we’d give an adjuster — yours to keep whether you need work or not.